Many of our monument experts have been running into this question lately: “Why do you charge so much more than other companies for mounting bronze plaques on stones?”
In order to respond properly to this question, we’ll first take a look at a typical bronze plaque. Then we’ll explain what is actually being done when a bronze plaque is being mounted. Once we understand this, we can compare how we do each step with how we’ve seen it being done by other companies (with photo evidence).
Our hope is that when you are able to understand all that this process entails and how our process ensures it will last for decades, you’ll have a better understanding of why we have a higher price for this service than most of our competitors.
The Plaque
We’ll get started by looking exactly at what a bronze plaque is and what we are given with it. We’ll be using a standard 12”x24” military bronze throughout the rest of this article.
The plaques are shipped in a cardboard box along with the hardware that is needed for properly mounting it to the stone.
There are four bolts that are meant to screw into the corresponding, pre-formed openings in the back of the bronze itself.

We transport the plaques to site in their cardboard packaging to ensure they don’t get damaged in transit. Once on site, our setters will then open up the plaque and begin to assemble it.
The four bolts have been screwed into the plaque. The plaque is now ready to be mounted to the stone.
Now that the bolts are screwed into the bronze, they must somehow be inserted and adhered to the granite stone itself. This is where our process begins to vary greatly from our competitors and why our prices are higher. (hint: we do it better)
The Mounting Process
Now, let’s walk through the actual process of mounting a military bronze to a granite stone that is already out in the cemetery, step-by-step and compare our process to that of the competition.
Step 1: Laying the Stone Flat
In order to ensure that we get the plaque perfectly centered, perfectly flat, and adequately adhered to the stone, it is critical that we are working on a flat surface where gravity is our friend, not our enemy.
How We Do It
In 99% of cases, we will actually take the tablet or slant off of the base and lay it flat. For tablets we’ll lay it on our cart and for slants like we have in our example, we’ll lay it on wood and rubber. That way we will be working on a nice flat, level surface.
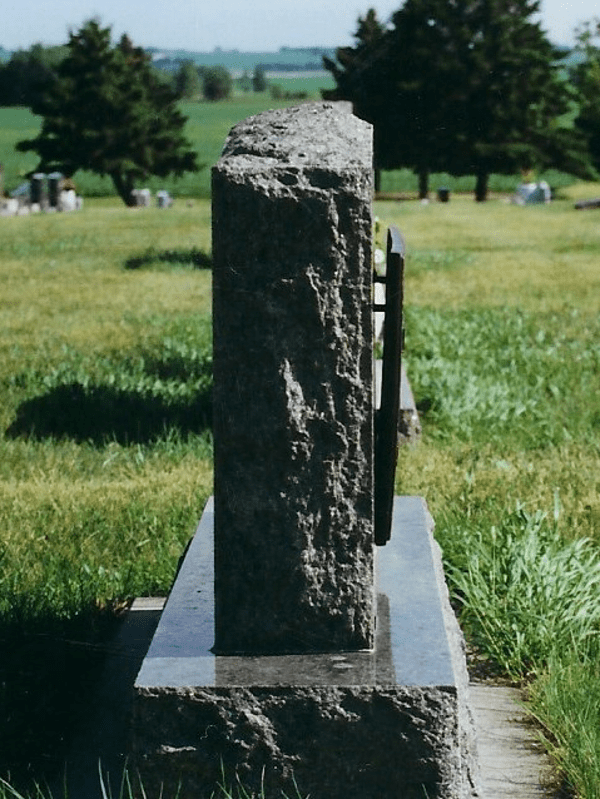
This is the stone the military plaque will be mounted to. Our first task is to lay the stone down so we can have a level surface to work on. We make sure to lay the stone on wooden 2x4s and/or pieces of rubber and not on the ground to keep the stone safe from chips or scratches.
Here’s another angle of the stone. We need to get the flat, back surface level so we can have a level surface to work on.
Again, you can see that the polished front of this slant is protected from damage by the wood and rubber.
How Our Competitors Do It
They don’t. We’ve encountered many situations (as can be seen in this picture) of evidence that a plaque was installed while the tablet was still vertical.
This makes it much more difficult to ensure that the plaque will be centered, flat against the stone, and adhered well. It’s easier and quicker but creates the potential for many more problems, both now and in the future.
This is an example of a military bronze that was attached without the die being made level. Instead, it was attached and held in place with a 2 x 4.
Step 2: Drilling the Holes
The next step is to actually drill the four holes into the stone for the bolts to be inserted into.
How We Do It
We use a standard driver drill to drill a nice clean hole with a consistent tubular shape about 2-3” deep depending on the stone we are working on. Even though it takes longer than a hammer drill, this is the best drill to use for this purpose for a couple of reasons.
- It creates that nice tubular shape that will better hold the bolts.
- It works by “scraping” away the stone a little at a time, rather than pounding at it. This ensures that there will be as little breakage around the hole as possible and that there is almost no chance of creating bigger cracks within the stone itself.
Jeremy is working on the fourth and final hole.
Here you can see our setter using a standard driving drill (not an impact drill) to drill nice and snug holes for the bolts to fit into.
In this photo, one of our setters is using an “open house” sign that is the exact dimension of the plaque they will be mounting. It also has holes marking exactly where to drill. Once the sign is exactly in the middle of the mounting surface and the holes are marked drilling can begin.
How Our Competitors Do It
Our competitors will often use a hammer drill to accomplish this step. This is evidenced by the “V” shaped holes that we have seen over and over again on stones where the plaques have fallen off. Using a hammer drill is much quicker than the traditional drill, but that is the only benefit for two reasons:
- The drill does not create a nice clean hole, but rather a “V” shape. This shape of a hole is terrible for actually holding a bolt tightly in place, in fact, it’s impossible for it to do so.
- Because a hammer drill adds in a “hammering” motion while drilling it causes much more chipping and damage to the stone around the holes. This “hammer” action also puts the entire stone at risk of fracturing.
You can see the “V” shaped holes in this created by a hammer drill. Also, note how the plaque has fallen off…

Some companies don’t even drill holes at all! They just use silicone or a similar compound to attach the bronze plaque straight onto the back. This method all but guarantees that the bronze plaque will fall off within a matter of years. Look at this picture to see what we’re talking about:
Step 3: Making it Stick
Now that we have the holes drilled, we need to use some sort of adhesive to ensure that the bolts on the plaque will stay inside of the holes for years to come.
How We Do It
We use a two-part epoxy resin manufactured in Germany for this task. This is the best option out there because it is specifically designed to be used outdoors when attaching stone to other materials (such as bolts).
The epoxy starts out as two different “pastes” that when mixed together undergo a chemical reaction that will cause the epoxy to harden after a few minutes.
So, working quickly, we’ll mix up the two parts, pour it into the holes we have drilled and then insert the bolts into the holes. The epoxy will become super hard and keep the plaque in place for decades to come.
We also let the stone lay level until the epoxy is fully set up to ensure that the plaque doesn’t become dislodged or move around while we are sealing the stone back onto the foundation or base.
Drilling granite creates a lot of dust which needs to be cleared out of the holes to ensure proper adhesion. Here you can see our setter using a tube to blow all of the dust from each hole.
In this photo, you can see our setter carefully pouring the epoxy mixture into each of the four holes.
After the epoxy is in, the plaque is immediately inserted into the holes and double- and triple-measured to ensure it is straight and centered on the stone. They have also stacked the generator (sitting on wood to protect the bronze and stone) to keep the plaque snuggly up against the stone while the epoxy hardens.
How Our Competitors Do It
We have witnessed many stones with plaques that have fallen off that were simply being held in place by your standard silicon. This is definitely the cheaper and easier option but is almost guaranteed to give you problems.
Silicon doesn’t harden like the epoxy we use does. This means the bolts will always be wiggling around ever so slightly allowing water and air to get the holes and under the plaque.
Over time, especially when combined with the “V” shaped holes from the hammer drill, as well as the fact that this is all being done while the stone is vertical, a plaque that is adhered to the stone by silicone is sure to fall off.
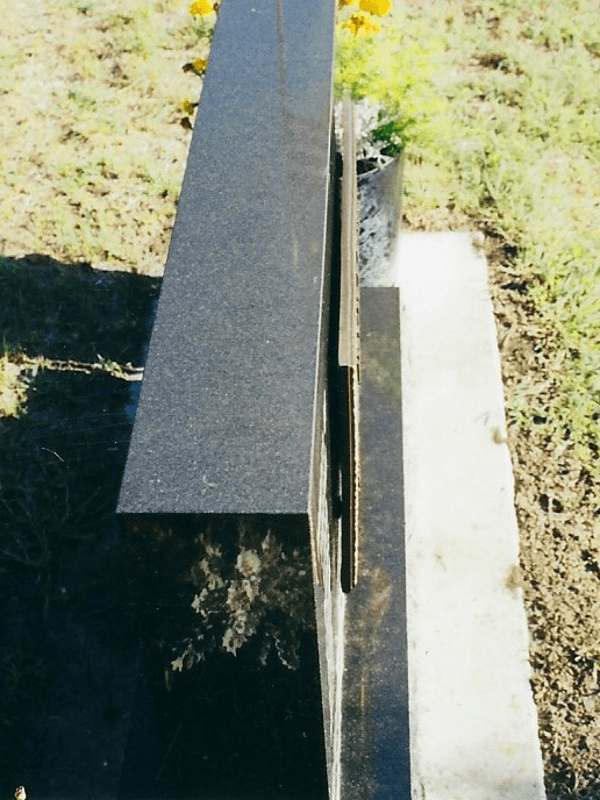
This is an example of a military plaque that is slowly working itself out of the holes it was inserted into. It’s only a matter of time until it falls off.
This is another example of a military plaque on it’s way out. When the plaque falls off it has the potential to scratch and/or chip the polished surface of the stone and base.
Step 4: Resetting the Stone
Now that the plaque has been securely attached to the stone and has had time to set up, it’s time to put the stone back in place.
How We Do It
First, we will clean off any of the old setting compound that is on the base and the bottom of the tablet to ensure a clean seal. Then we will follow our standard procedure for setting a tablet on a base.
We set it on four lead beads and seal it off with setting compound. We do all this while constantly measuring everything to make sure the tablet is as close to perfectly centered on the base as possible. We will then give the stone a wash using our granite cleaner so it will look just like new!
After the epoxy is fully set, the plaque and stone will be given a nice scrub down using proper granite cleaning materials.
Here is the final product! A brand new bronze plaque mounted perfectly on the back of the slant.
How Our Competitors Do It
They don’t since they never took it off in the first place.
We Strive to be the Best
It is our company motto to provide the absolute best service possible to each and every one of our customers. This means that we don’t take shortcuts or use cheaper/easier to use materials.
Rather, we take every step possible and use the best materials we can get our hands on to ensure we are providing our customers with the very best product.
That is why we charge significantly more to mount a bronze plaque on a stone. We don’t claim to be the cheapest monument company out there, but we do claim to have the best product you can find.
That’s something we’ll continue to stand by as long as we’re around and something you can expect anytime you walk through our doors!
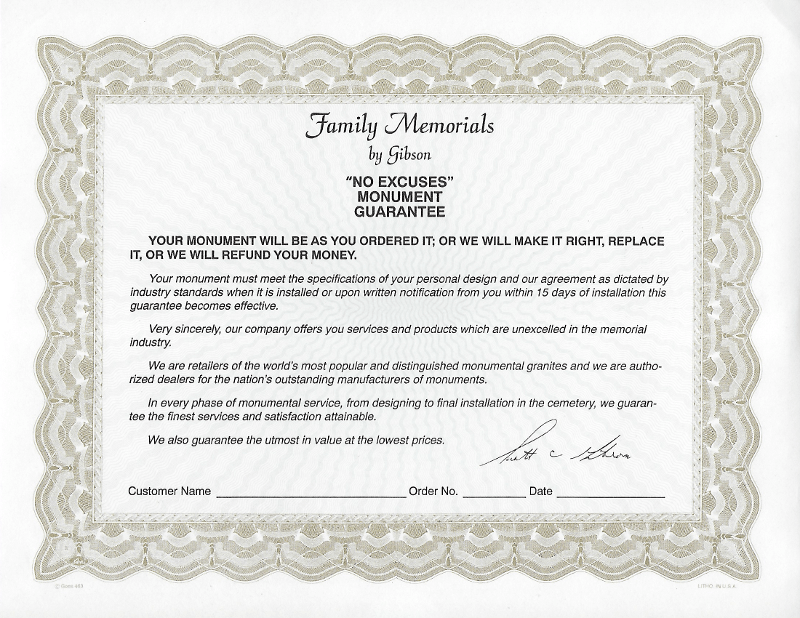
P.S. This is also why we have a “No excuses” Monument Guarantee (See certificate to the right) and a lifetime warranty.
Follow Our Story
We'd love to be able to connect with you further. Sign up for our mailing list to learn more about who we are, what we do, and to have early access to any specials and deals we may offer in the future.
Thank you for subscribing.
Something went wrong.


What epoxy would you use to place a bronze marker on a stone that is 110 years old?
I’d rather not drill into the stone.
Hi Dustin,
Great info on how to mount a bronze plaque to a tombstone. I found myself Googling how to do it because I just purchased a bronze plaque to update a tombstone with a third burial.
I live in Maryland so I know your services are not available here, BUT I like the info for whomever I find to do the installation locally.
Can you give me a ball park estimate of the cost to mount a 32″ X 7.5″ plaque on granite the right way so I know what to expect from local companies?
Any info is appreciated… Sincerely,