
Here at Family Memorials, we offer complete monument services, from the beginning consultation with our monument experts to the final placement of your stone in the cemetery.
This last step, the setting of the stone, is one aspect of the process most people outside of the monument business are unfamiliar with. In this post, we’ll aim to answer all of your questions about how we go about setting stones in a cemetery, starting with loading up our setting trucks.
Pre-Trip Preparation
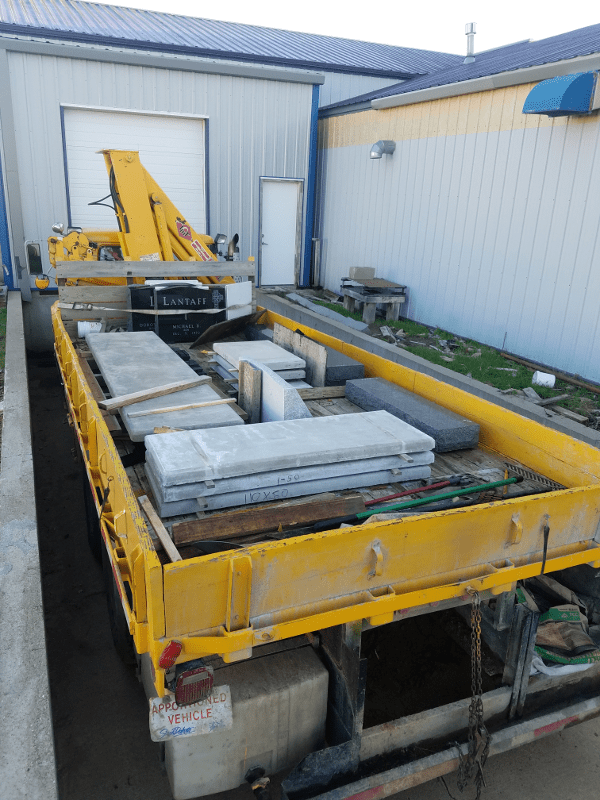
Loading the setting trucks up is the first step to a successful day of setting. Our setters and shop guys are up bright and early, often before the sun is up, packing the day’s stones on the truck. We need to make sure we have everything we need before we leave the shop. A missing vase, base, or plaque might throw the whole day off! Our setters will meticulously check the work cards and supply lists.
We double and triple check to make sure we have the correct foundations, bases, stones, vases, plaques, and whatever else may be needed for that particular load.
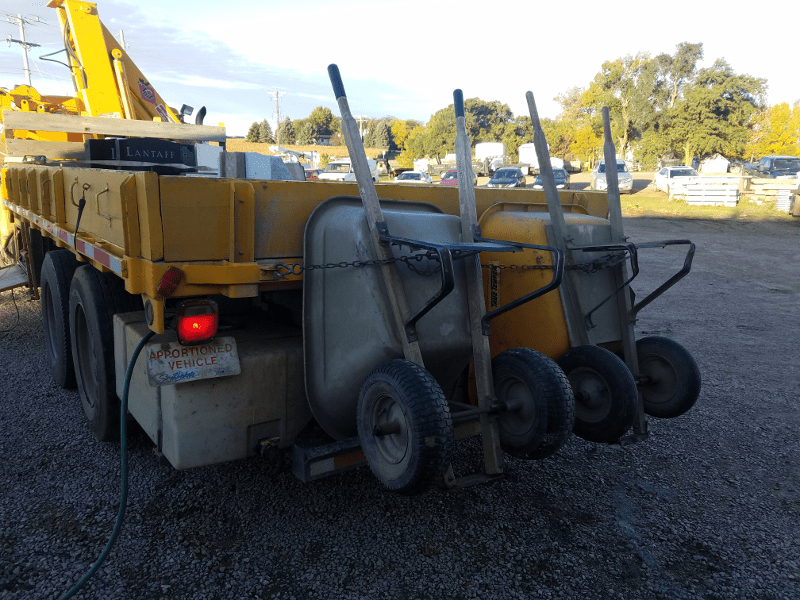
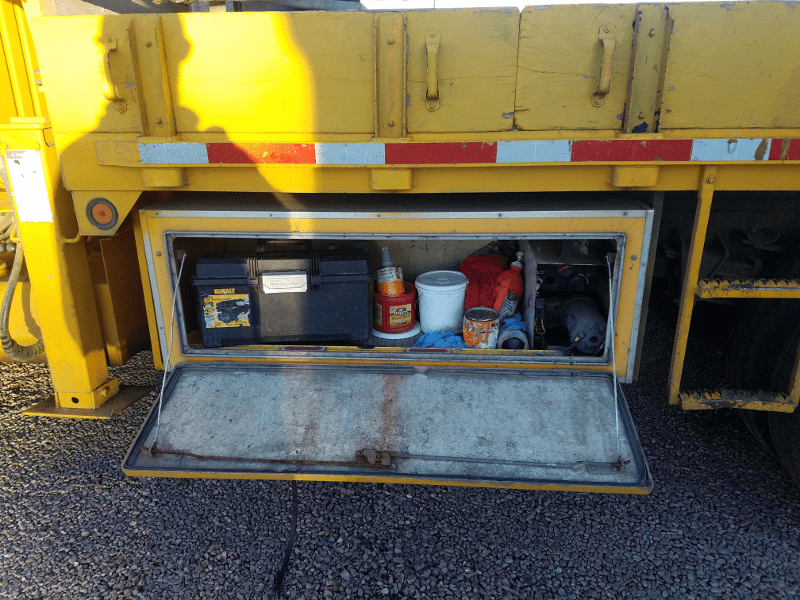
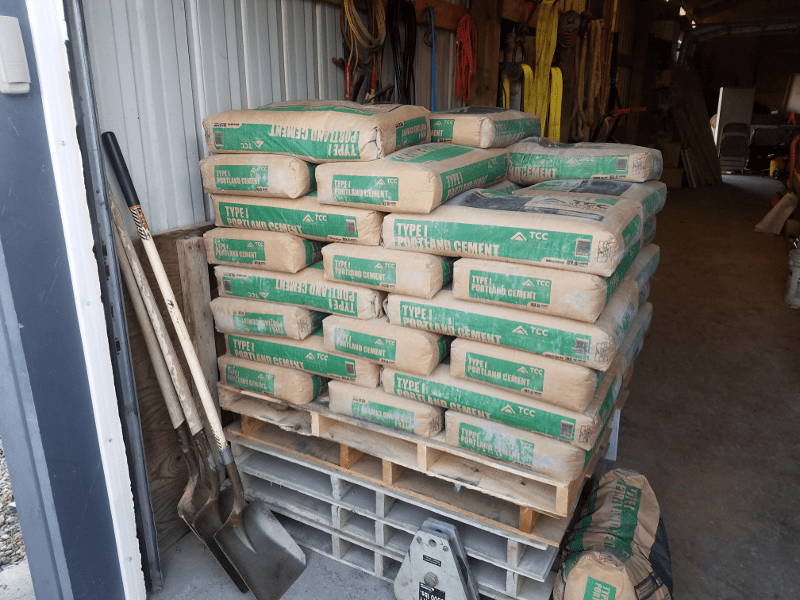
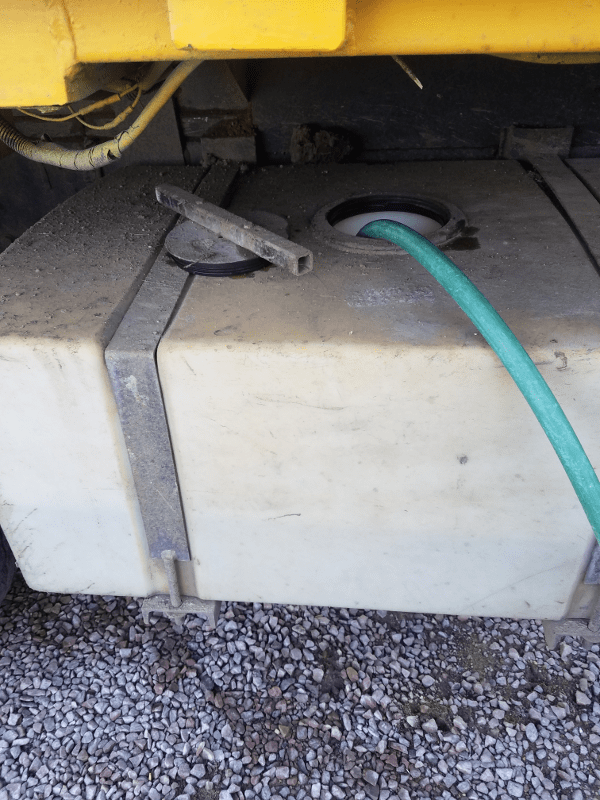
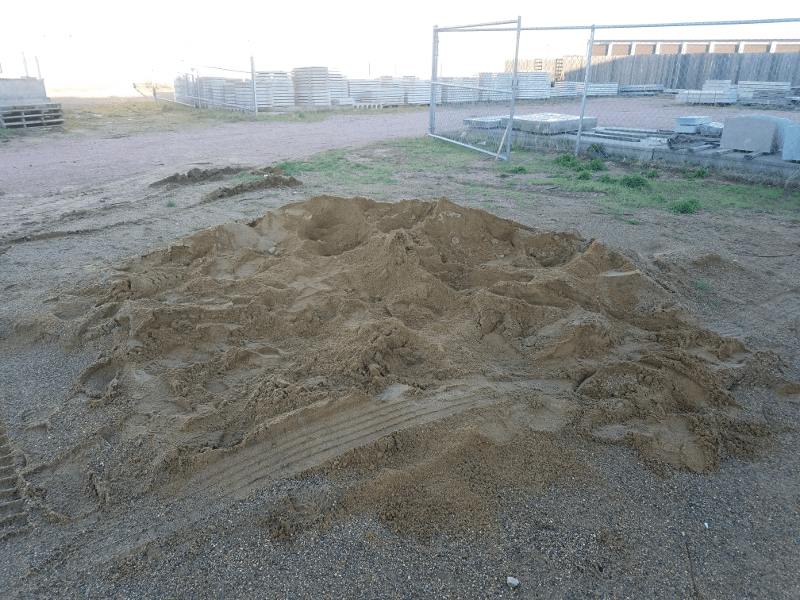
We also need to load up all of the tools and raw materials before we head out. This means filling up the water tanks and sandboxes, tossing on bags of cement, loading up the wheelbarrows, making sure we have the lead and setting compound we’ll need, loading up a generator, and making sure our coffee mugs are full.
Once we’re all loading up it’s time to get started on our journey. When we arrive at the cemetery and gravesite we are ready for business.
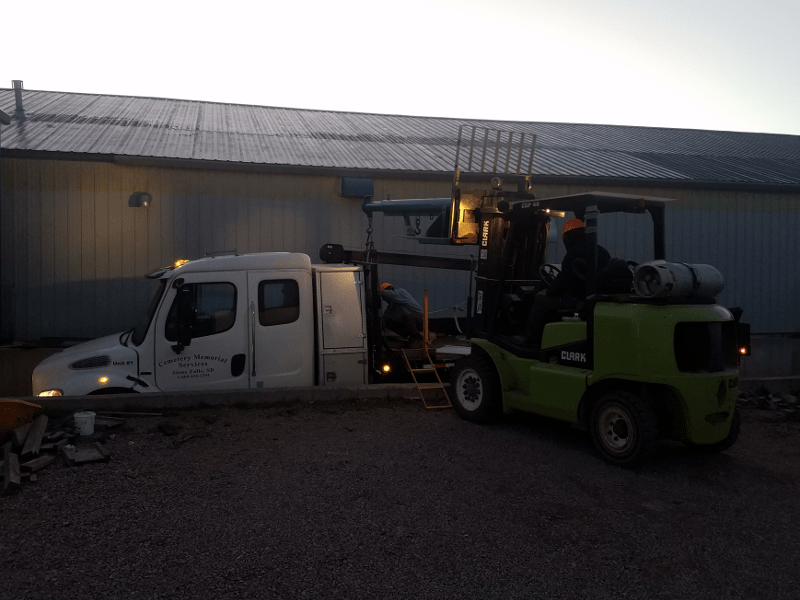
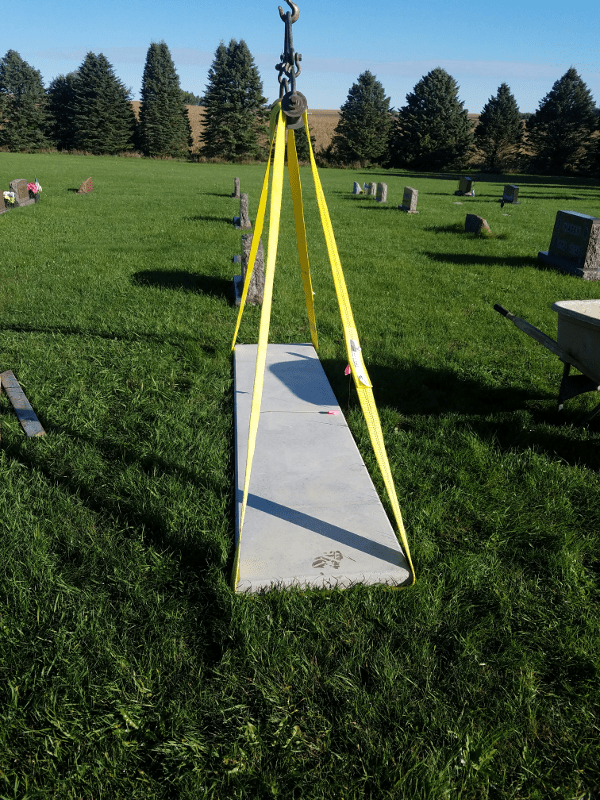
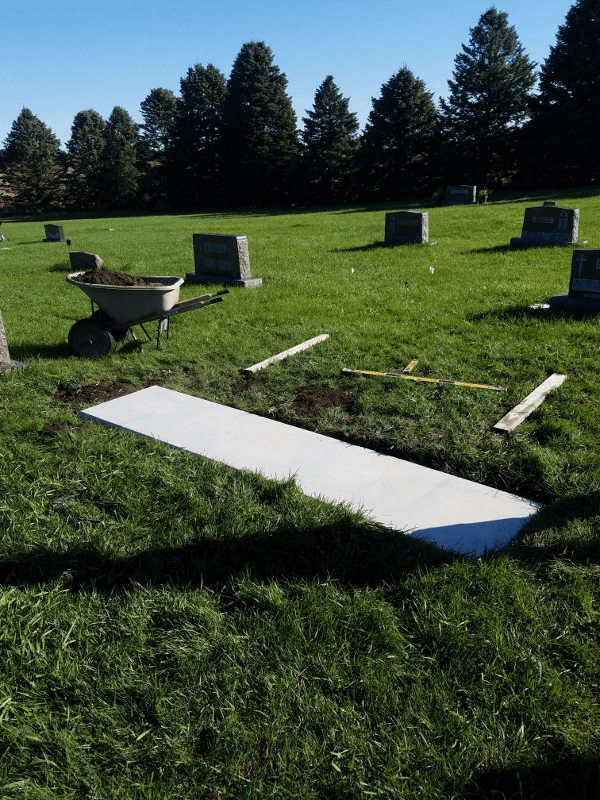
Step 1 – Place the Foundation
The first thing we will do is unload the foundation and set it exactly where it will be located when the set is complete. If we’re lucky, we’ll be able to do this using the boom on the truck. If it’s too far from the road we’ll have to put it on a cart and wheel it there manually. We really try to avoid driving on the grass as much as possible.
Usually, the site is well marked by the sexton so we know exactly where the stone is supposed to go; otherwise, we may have to pull out the old string line to ensure we set the foundation in line with the other stones already in the cemetery.
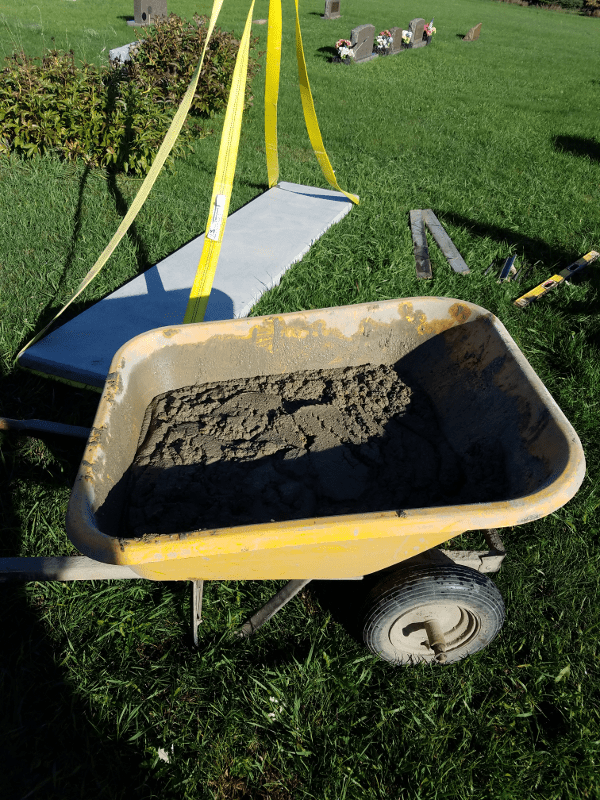
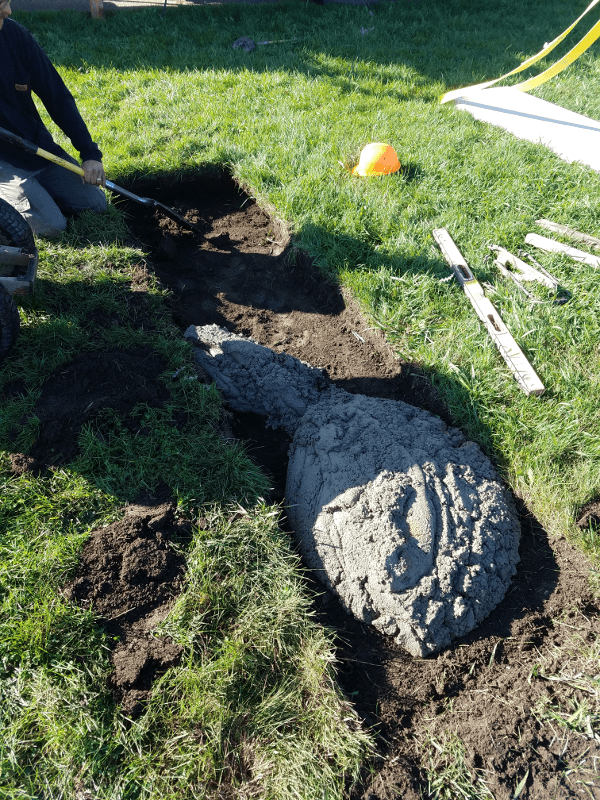
When the foundation is in place we’ll split up. One guy will grab a shovel, move the foundation out of the way, and dig a 6-8 inch deep hole that is just big enough for the foundation to fit into.
While he’s digging the hole, the other guy will grab a wheelbarrow and start mixing cement. We put at least 4” of cement under every foundation. The primary reason for doing this is so we can float the pre-stress foundation on top of the concrete, which allows us to get it perfectly level.
When the hole is dug and the concrete is mixed we’ll dump the concrete in the hole, level it out, lift the foundation onto the concrete, do some dirt work to get it looking nice, then finally clean it off so we can move on to step two.

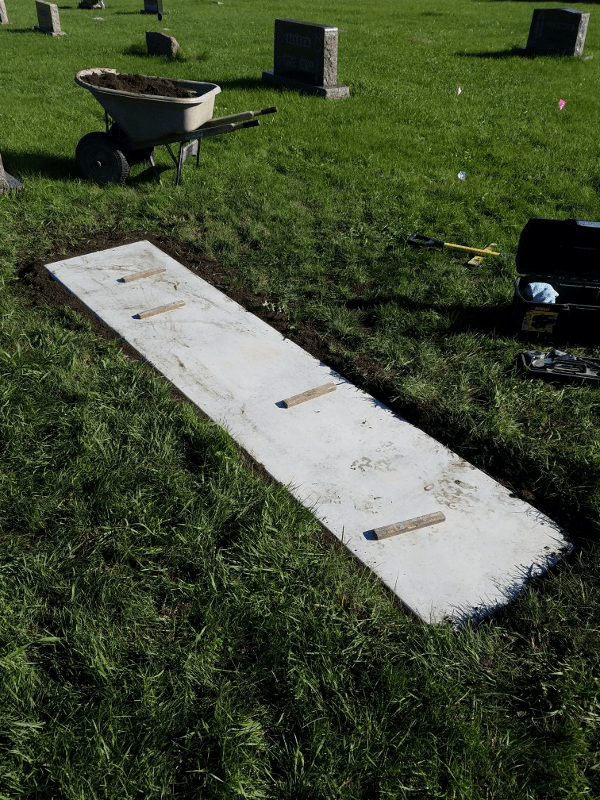
Step 2: Set the Base (If Needed)
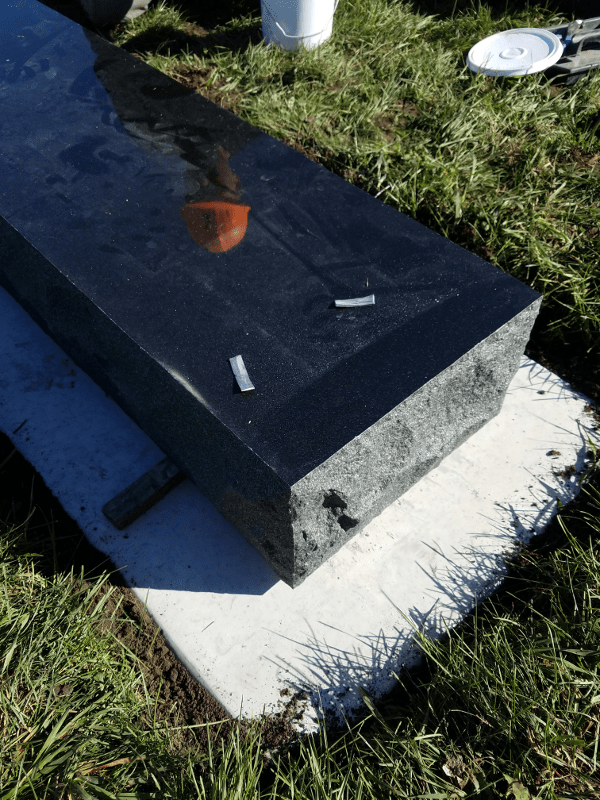
When the foundation is ready to go we’ll unload the base from the truck. We don’t set it directly on the foundation at this point but on 1×2 inch “pre-cast sticks.” Doing this allows us to move the base around much more easily than if it was on the pre-cast foundation directly.
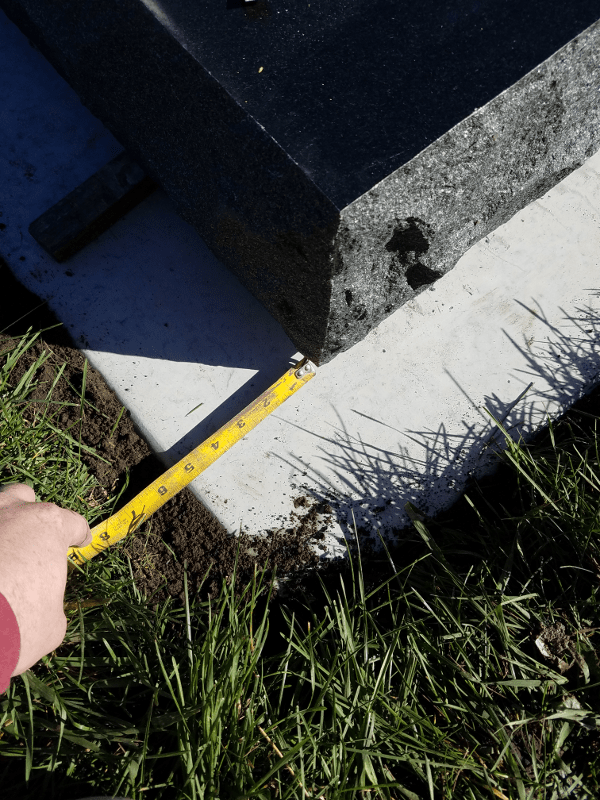
When the base is in place, we’ll measure it on all sides to make sure it is perfectly centered on the foundation.
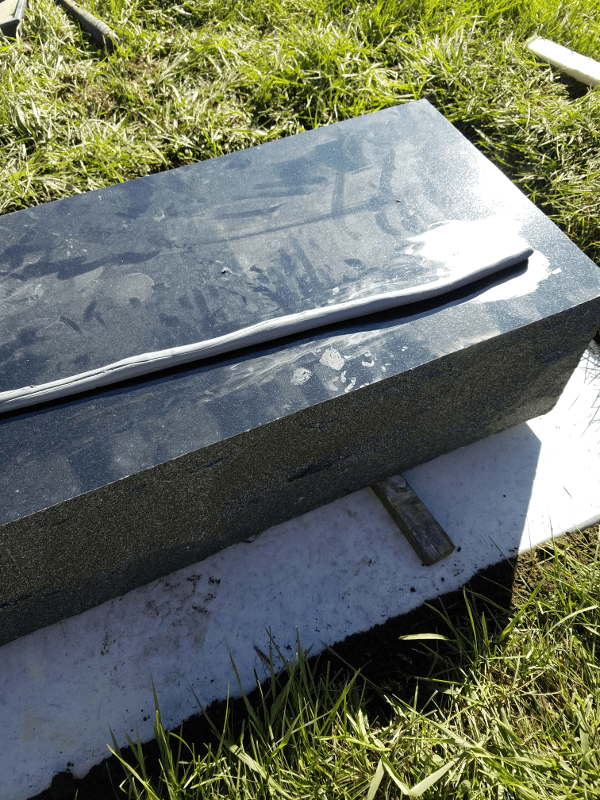
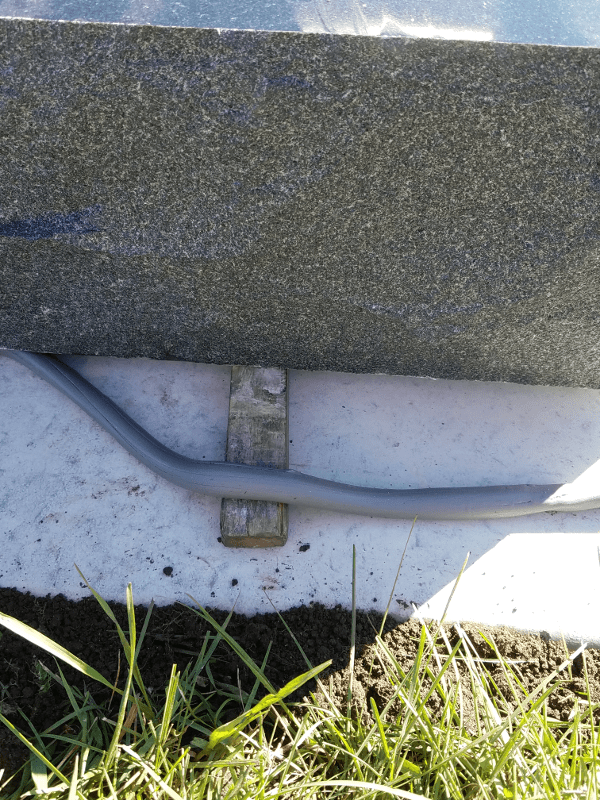
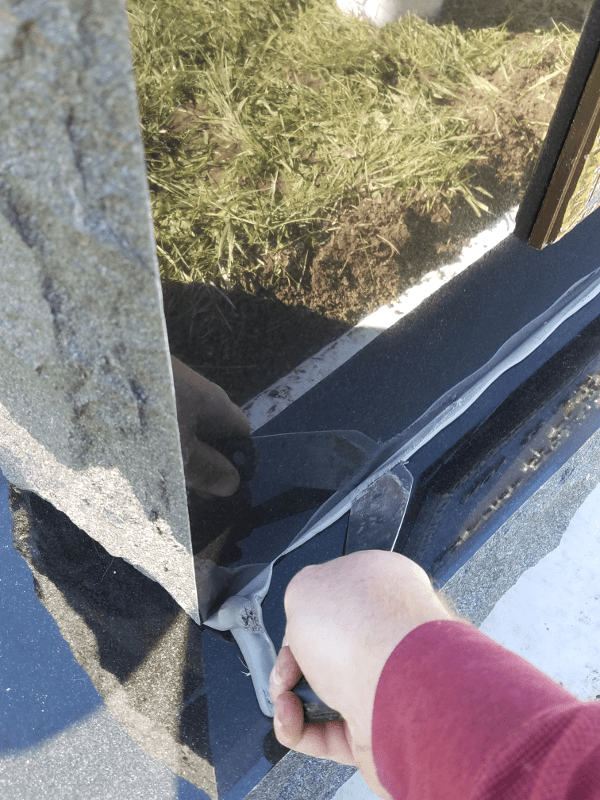
Next we’ll place a piece of lead under each corner. Since lead is a relatively soft metal, this allows the foundation to slowly sink into place on a stable footing on each of the four corners. We’ll then roll out a line of setting compound along the entire perimeter of the base.
When the leads and setting compound are in place, we’ll use an iron bar to lift each end of the base up, remove the pre-cast stick, and lower the base down onto the leads and setting compound. Working together, they will create a sealed air pocket under the base which essentially creates a vacuum to hold the base in place.
Once the base is lowered we’ll re-measure all of the edges and make any final adjustments to get it to where it needs to be.
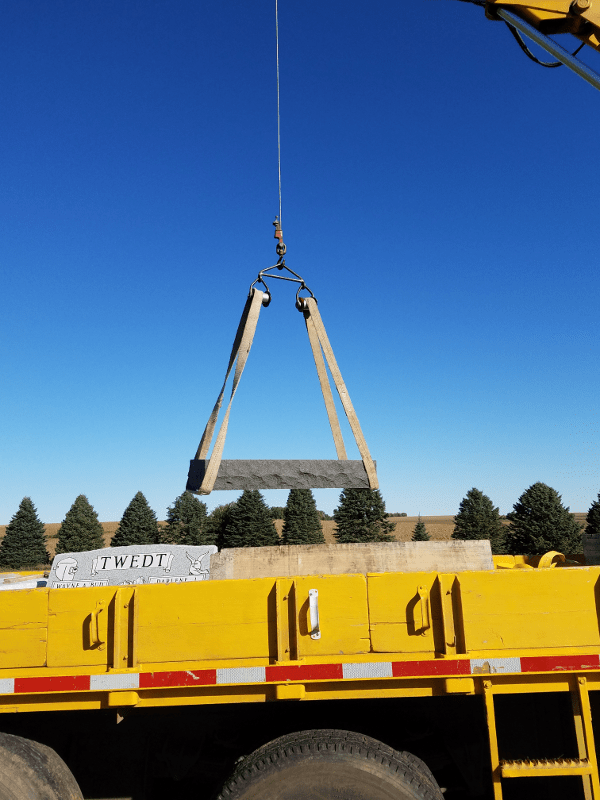
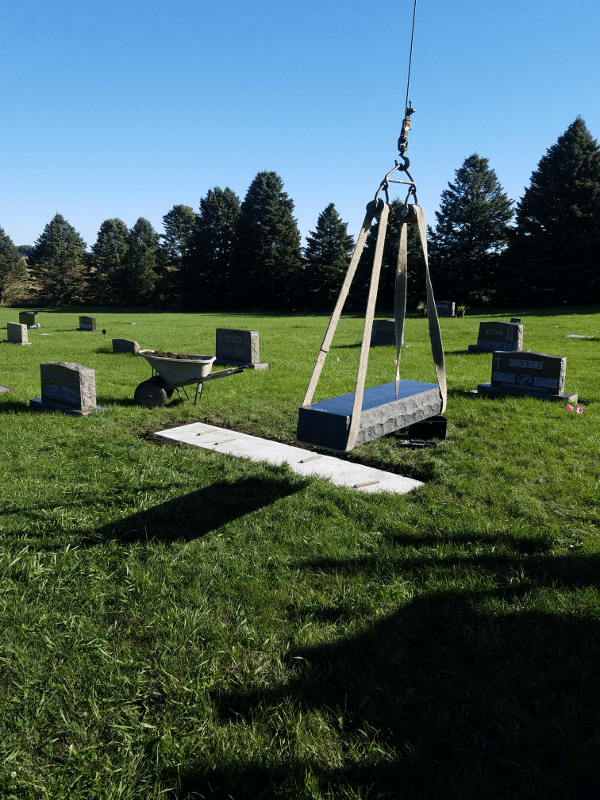
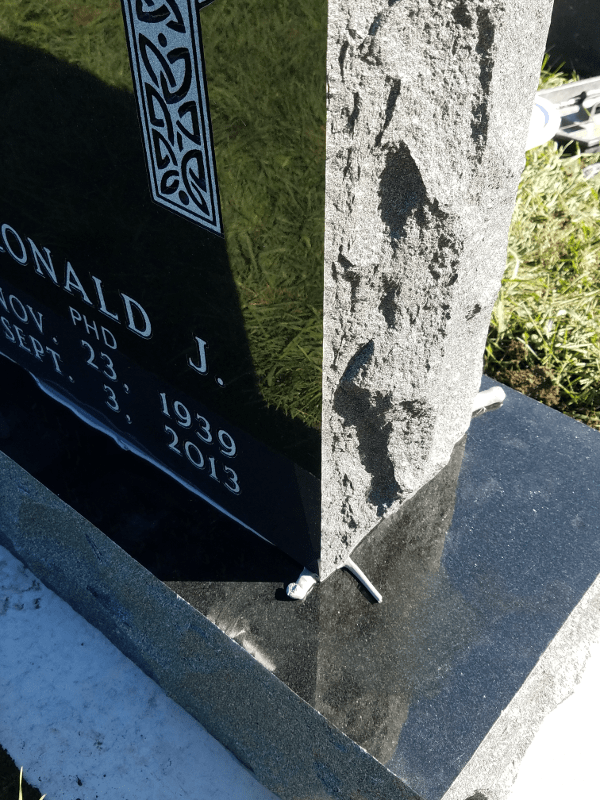
Step 3: Set the Die
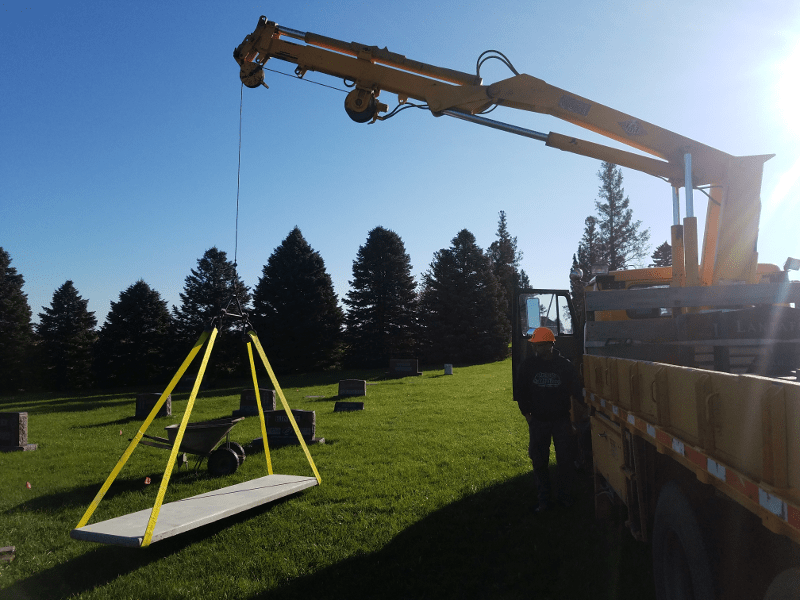
Once the base is set in place and sealed down, our next step is to get the die off of the truck. If we’re lucky we’ll be able to use the boom, if not we’ll set it on the cart and, carefully, tip it up onto the base.
We’ll follow the exact same process as we did for the base: set it on sticks, measure, place the dies, roll out the setting compound, lower the die using the crowbars, and double check all of the measurements.
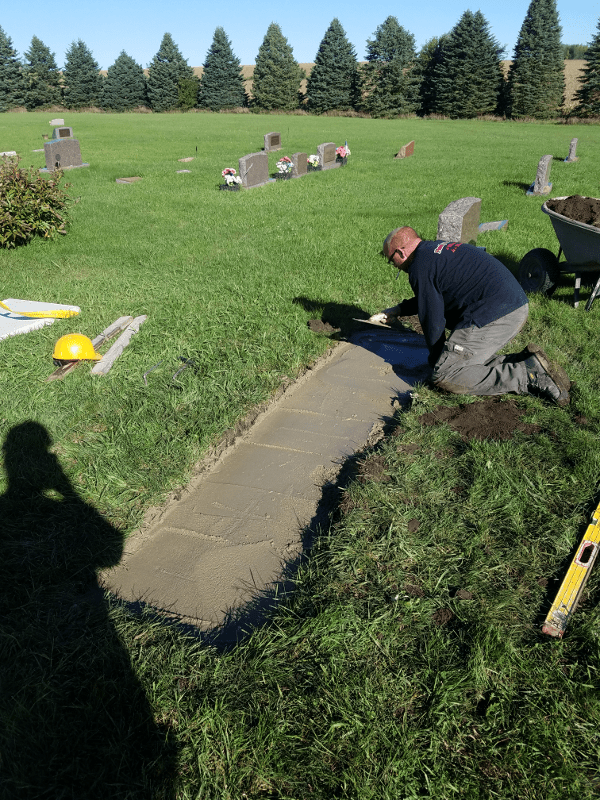
Step 4: Clean-Up
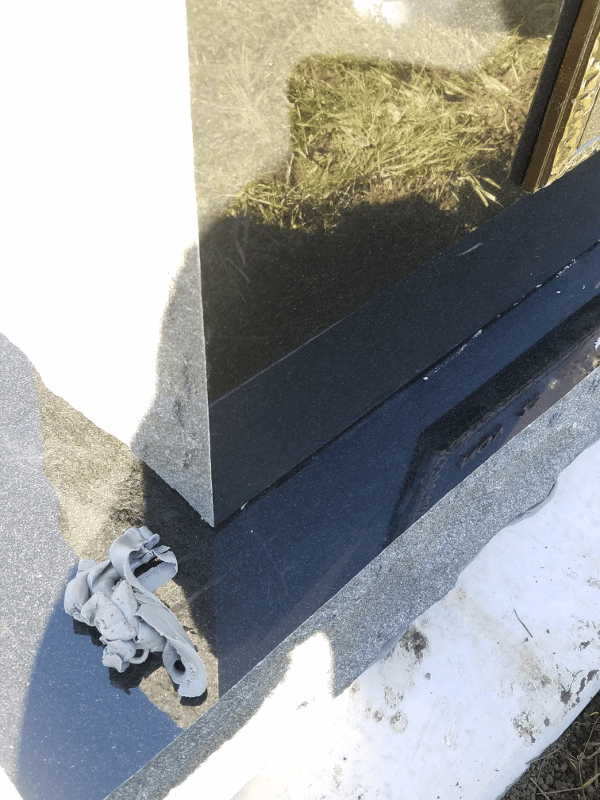
At this point, even though we have the base and die in place, the stone still probably isn’t looking that great. There’s likely setting compound oozing out all around the base and the die, fingerprints all over the polished surface, and possibly dirt and grass sitting on the pre-cast foundation.
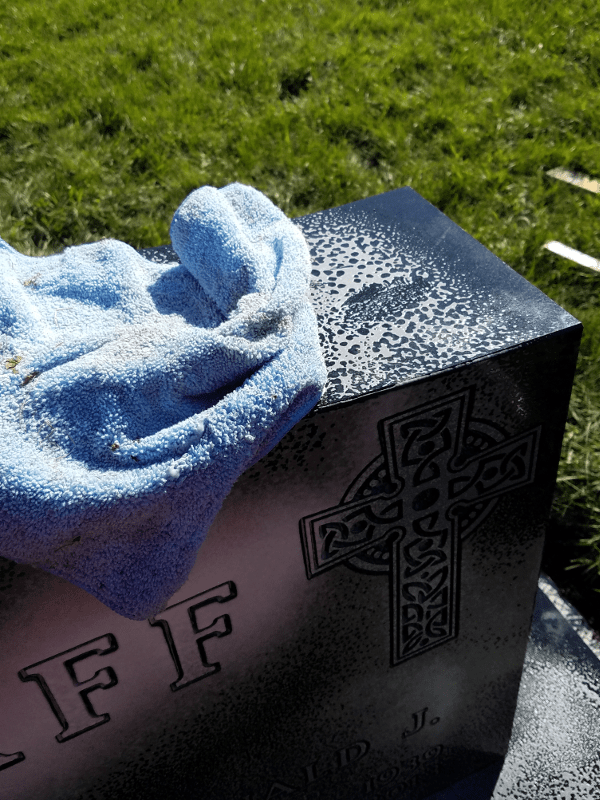
To finish the job off, we need to clean all this up. We use a putty knife to scrape off as much setting compound as we can which we’ll reuse on the next set. We’ll clean the polished surface using a spray-on granite cleaner and washcloth.
Finally, we’ll use a rake and broom to make sure the foundation and surrounding grass are looking as close to “as if we weren’t even there” as possible.
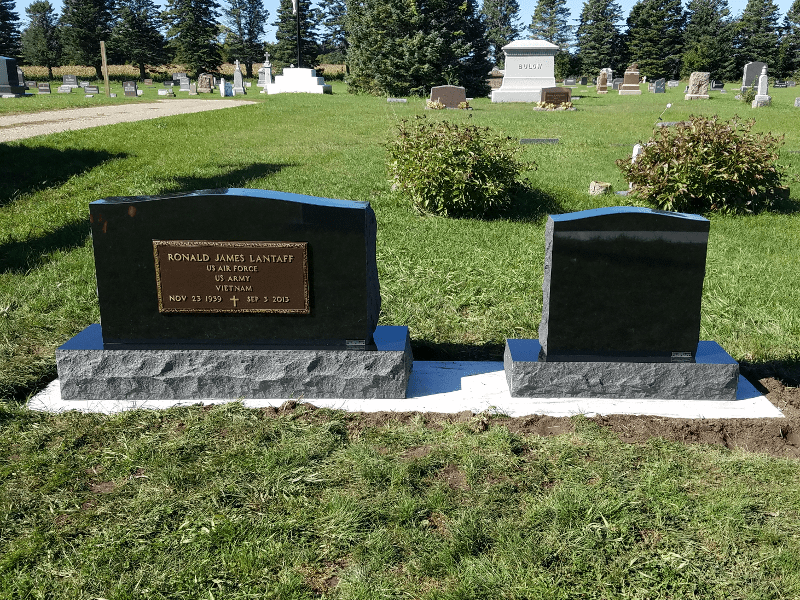
When we’re satisfied with a job well done we’ll snap a picture, load up the wheelbarrows and tools, and get back on the road to the next set!
Our setters are the unsung heroes of our business! They’re the ones spending hours and hours driving a truck around the state, working outside in the summer sun, ensuring our products are beautifully presented in their final resting places!
Our Passion and Mission
We hope this post has answered most of the questions you may have had regarding the monument setting business! It’s our passion and mission as a monument company to serve our customers and families every step of the way.
If you are in need of our services, please don’t hesitate to reach out to us. We will be honored to be able to serve you as you decide how to honor yourself or your loved ones in stone.

Follow Our Story
We'd love to be able to connect with you further. Sign up for our mailing list to learn more about who we are, what we do, and to have early access to any specials and deals we may offer in the future.
Thank you for subscribing.
Something went wrong.


I am a volunteer of a rural cemetery in northern Calf.
What do you use when setting granite to granite together?
You call it a setting compound. Is there a commercial name of this product?
Thanks for your help,
Art
Hey Arthur,
That’s a great question. We use Granite City Join-Tite Setting Compound. It’s what we’ve used for years and years. Let us know if you have any other questions!
Dustin